
Uncategorized
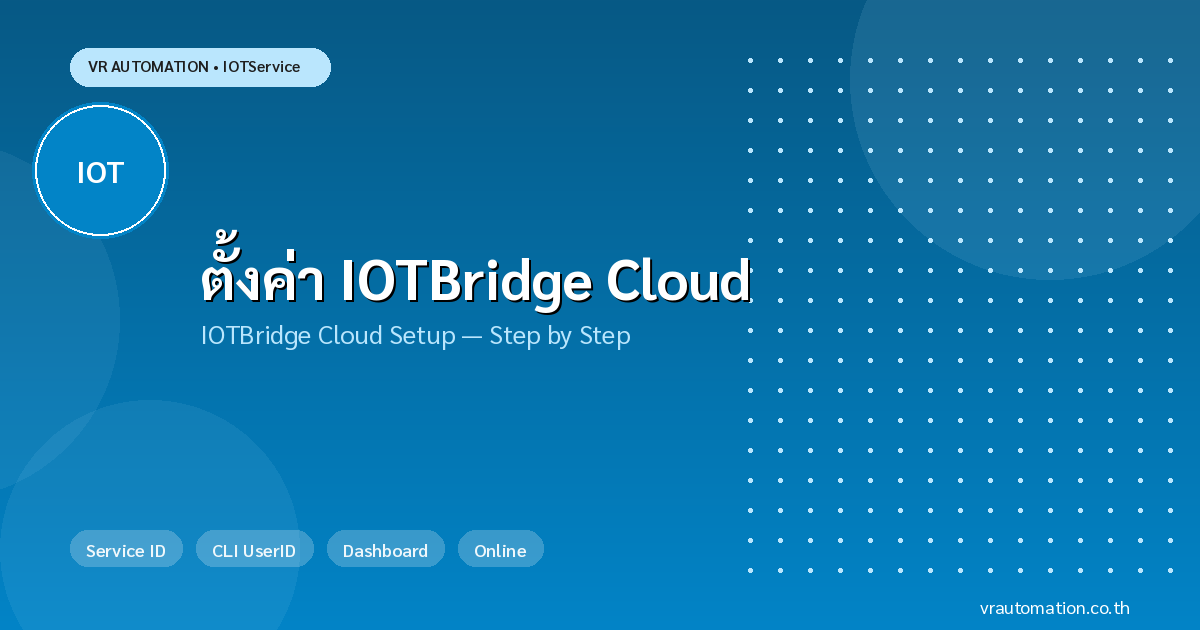
จำหน่าย IOTService วิธีสมัครและตั้งค่า IOTBridge Cloud สำหรับ Serial Server
มี.ค.
IOTService: วิธีสมัครและตั้งค่า IOTBridge Cloud สำหรับ Serial Server Hi-Flying
IOTBridge Cloud คือบริการ Cloud ของ Hi-Flying Technology ที่เปิดให้ Serial Server เชื่อมต่อแบบ P2P ผ่าน Internet โดยไม่ต้องการ Public IP หรือ VPN บทความนี้แนะนำขั้นตอนการสมัครและตั้งค่าตั้งแต่ต้นจนสามารถใช้งาน Remote Access ได้
ขั้นตอนที่ 1: สมัครบัญชี IOTBridge
- เปิด Browser → ไปที่ bridge.iotworkshop.com
- คลิก Register
- กรอก Email, Password, ยืนยัน Email
- Login เข้าระบบ → ได้ User ID และ Service ID
ขั้นตอนที่ 2: ตั้งค่า CLI UserID ในอุปกรณ์
เพื่อผูกอุปกรณ์กับบัญชี IOTBridge ต้องตั้งค่า CLI UserID:
- เปิด IOTService → ค้นหาอุปกรณ์
- คลิกขวา → CLI Setting
- ใส่คำสั่ง:
AT+REGUID=<Service_ID> - กด Send → อุปกรณ์จะบันทึก Service ID
- รีสตาร์ทอุปกรณ์
ขั้นตอนที่ 3: Enable IOTBridge ในอุปกรณ์
- เข้า Edit Page → ส่วน IOTBridge
- เปิดใช้งาน Enable IOTBridge
- ตรวจสอบ IOTBridge Server:
bridge.iotworkshop.com - บันทึกค่า
ขั้นตอนที่ 4: ตรวจสอบสถานะ Online
- Login ที่ bridge.iotworkshop.com
- เมนู Device List
- อุปกรณ์ที่ผูกไว้จะแสดงสถานะ Online (สีเขียว)
IOTBridge Dashboard Features
| Feature | คำอธิบาย |
|---|---|
| Device List | ดูรายการอุปกรณ์ทั้งหมดและสถานะ Online/Offline |
| Alarm Setting | ตั้งค่าแจ้งเตือน Email เมื่ออุปกรณ์ Offline |
| OTA Upgrade | อัพเกรด Firmware ผ่าน Cloud |
| Remote Config | แก้ไขค่าอุปกรณ์จากระยะไกล |
IOTBridge Cloud Setup | English Summary
IOTBridge Cloud setup involves 4 steps: (1) Register at bridge.iotworkshop.com and get your Service ID, (2) Set CLI UserID in the device using AT+REGUID command in IOTService, (3) Enable IOTBridge in the device’s Edit Page, (4) Verify the device shows Online in the IOTBridge dashboard. Once configured, the device supports Remote Virtual COM, Virtual Through, OTA Updates, and Email Alarm notifications.
📥 ดาวน์โหลด IOTService ฟรี พร้อมคู่มือการใช้งาน IOTBridge
🛒 สนใจซื้อ Serial Server Hi-Flying พร้อม IOTService?
VR Automation จำหน่าย Serial Server, PLC, HMI, Inverter, Servo Motor และอุปกรณ์ Industrial Automation ครบวงจร
📧 [email protected] | 🌐 vrautomation.co.th